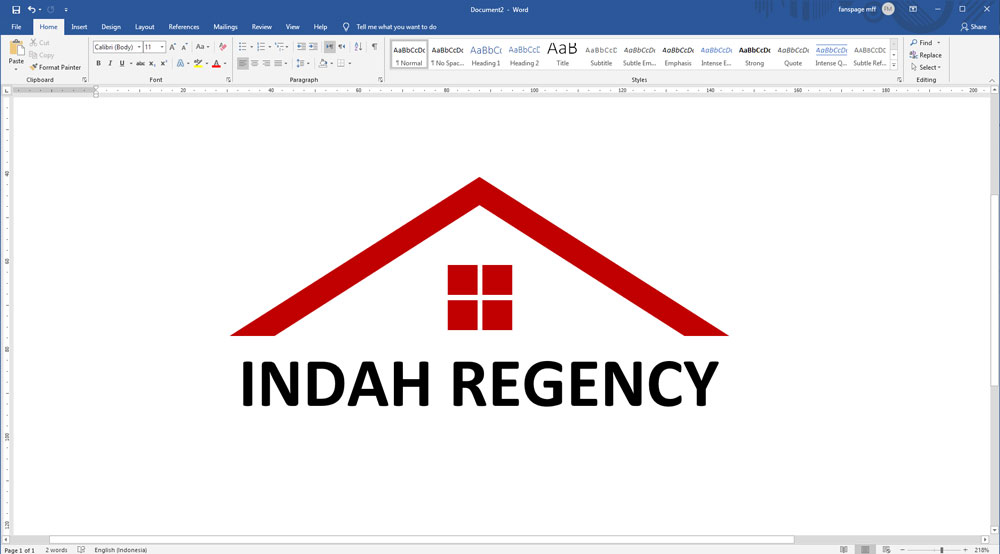
How To Make a Logo With MS Word 2019
Creating logos for some people may challenging, especially for people who never touch any graphic design software like Corel Draw or Adobe Illustrator. Even though you can still make some nice logos on non-graphical purpose software, one of them is Microsoft Office Word.
In this post, we will try to make a nice logo just using Microsoft Word from Microsoft Office Professional 2019. I’ll walk you through the steps for creating a logo design from choosing the right shapes or editing shape outline to customizing colors and fonts.
This software offers vector graphics capability through its shapes feature and you can export as PDF as well as high-quality vector graphics.
Whether you’re a small business owner or a freelancer, you’ll be able to create a basic logo design and I hope these steps give you guidance or starting point that you can explore further later on.
Steps to make logo with MS Word 2019
Here’s a step-by-step guide:
- Open Microsoft Word and create a new document. In this tutorial, I set the page size to letter and orientation in the landscape, you can find this setting on the Layout tab.
- Click on the “Insert” tab at the top of the screen and select “Shapes.” Here, you can choose from various shapes such as rectangles, circles, triangles, etc.
- Select the shape that you want to use as the basis for your logo design, and click and drag your mouse to draw the shape on the document.
- You can play with the shape formation by dragging the orange dots. And you can play with the shape size by dragging a white dot on each corner.
- There’s a feature called Edit Points that allows you to customize the shape to form any custom shape eg. by adding additional points, customizing curves, etc. To do that go to Format Tabs and in the Insert Shape tool group choose Edit Shape > Edit Points.
- Right-click on the shape and select “Format Shape” from the dropdown menu. Here, you can change the shape’s color, border, and other properties to customize it to your liking.
- To add text to your logo, click on the “Insert” tab again and select “Text Box.” Draw a text box on top of your shape and type in your desired text.
- Format the text using the formatting options in the “Home” tab at the top of the screen. You can change the font, size, color, and alignment of the text.
- Once you’re happy with your logo design, save it as an image file by clicking on “File” and selecting “Export” Choose “Create PDF/XPS” and save your file.
- Congrats now you’ve done creating a vector graphic logo like graphic design software does.
Anyway, I’ve made a video tutorial for this tutorial on youtube, check this out!
Microsoft Word 2019 offers some basic tools for creating vector graphics, such as logo designs. While it may not have the advanced features of dedicated graphic design software like Corel Draw or Adobe Illustrator, it is a readily accessible and easy-to-use option for those who are just starting out or need a simple design.
However, it’s important to note that while you can create vector graphics in Microsoft Word, the only export option is PDF, and the vector graphics can only be edited in other graphic design software.
Therefore, it’s best to consider using dedicated graphic design software for more advanced design needs. Nonetheless, Microsoft Word 2019 provides a simple and efficient option for creating vector graphics, making it a viable tool for small businesses or individuals who need to create simple designs without investing in expensive software.


